Purpose
- Enable developer to develop & deploy Node JS application on IBM Cloud.
- Enable developer to use IBM Cloud Cloudant NoSQL database service.
- Enable developer to connect Cloudant NoSQL database service with existing deployed Node JS Application.
Pre-requistes
We will deploy a sample Node JS application on IBM Cloud that will store data in Cloudant NoSQL database.
Deploying sample Node JS starter application
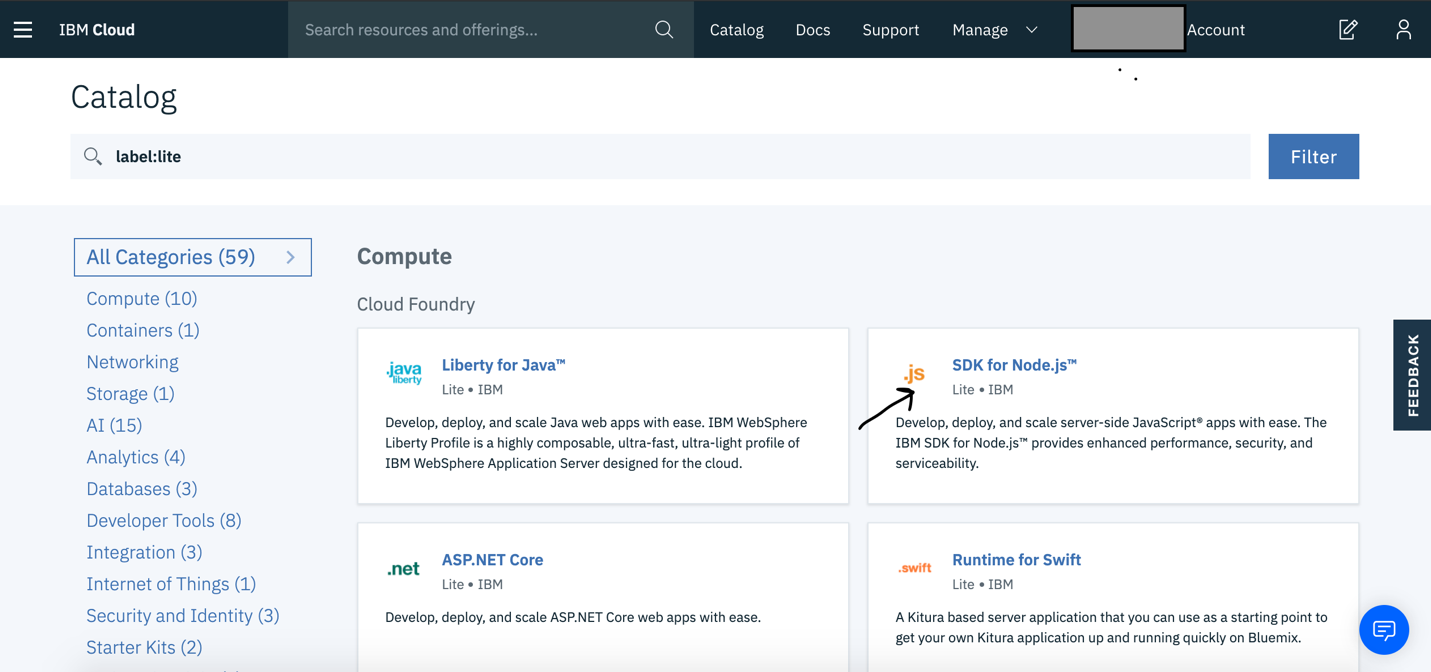
Step 1 Select SDK for Node.js service
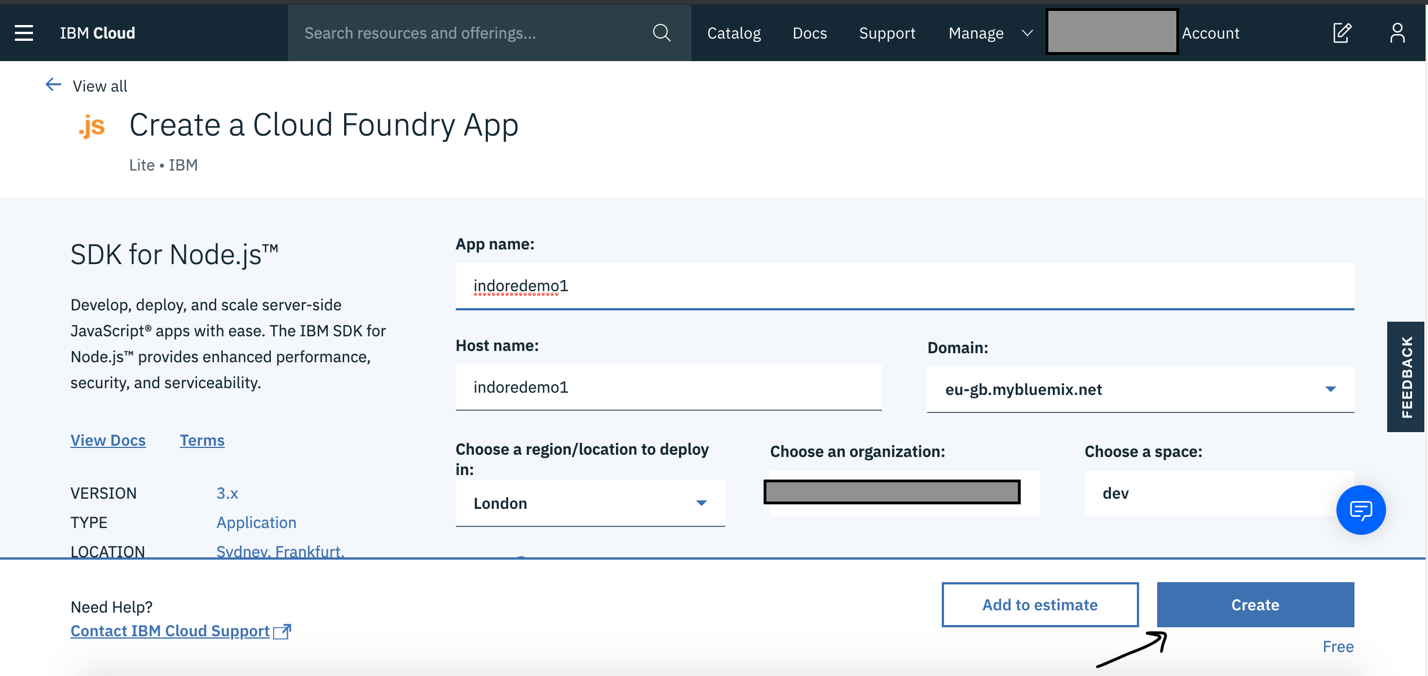
Step 2 Provide unique name to application and then create application
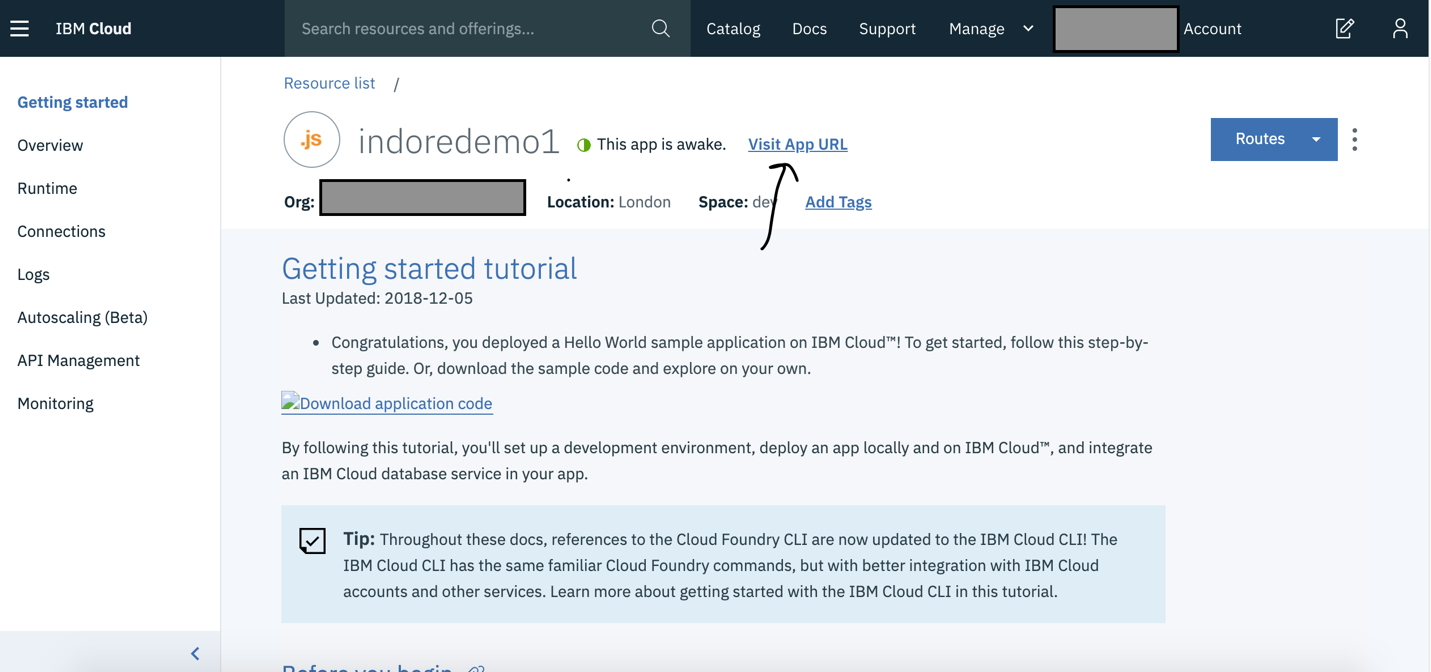
Step 3 Click on “Visit App URL” once application comes in awake state
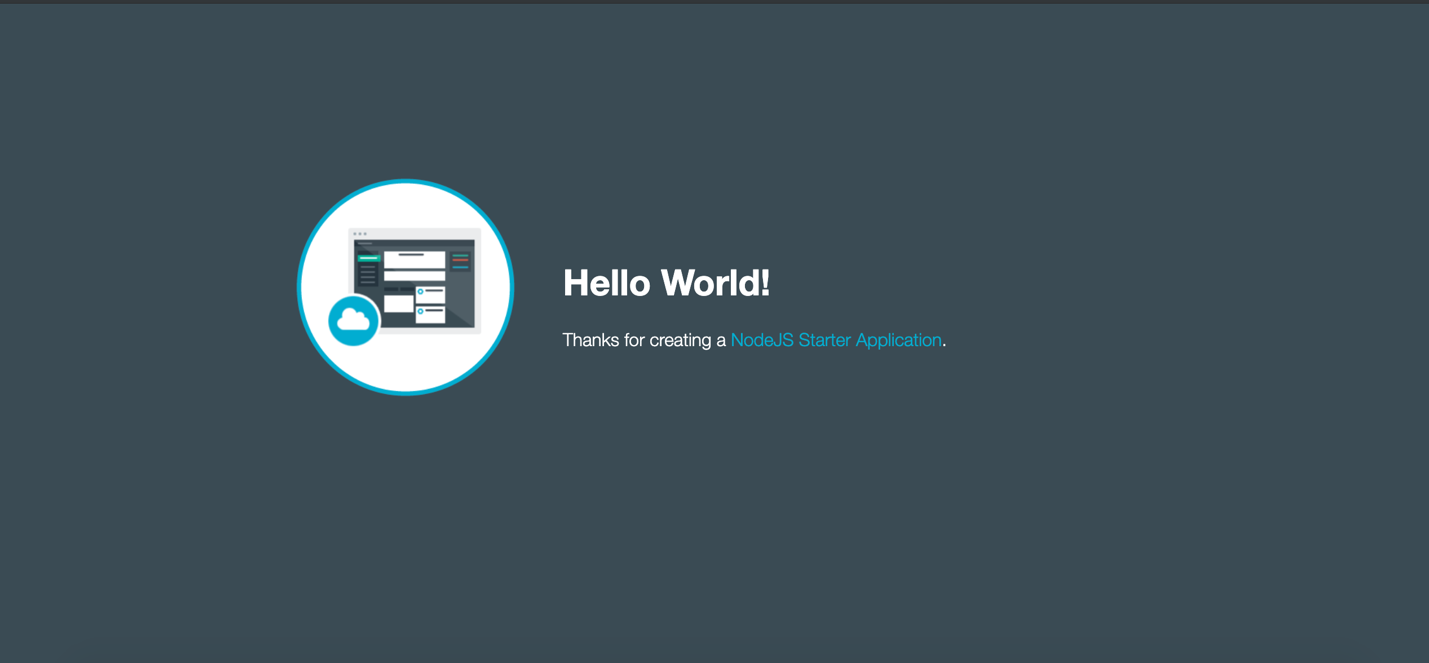
Step 4 Verify application is up & running
Running application locally
In previous section we have deployed a Node JS starter application to understand how to get started with application deployment on IBM Cloud. Now we will run a sample Node JS application on local machine.
Step 1 Clone GitHub repository containing source code of sample application
git clone https://github.com/IBM-Cloud/get-started-node
Step 2 Move into source code directory
cd ./get-starter-node
Step 3 Install dependencies
npm install
Step 4 Start application
npm start
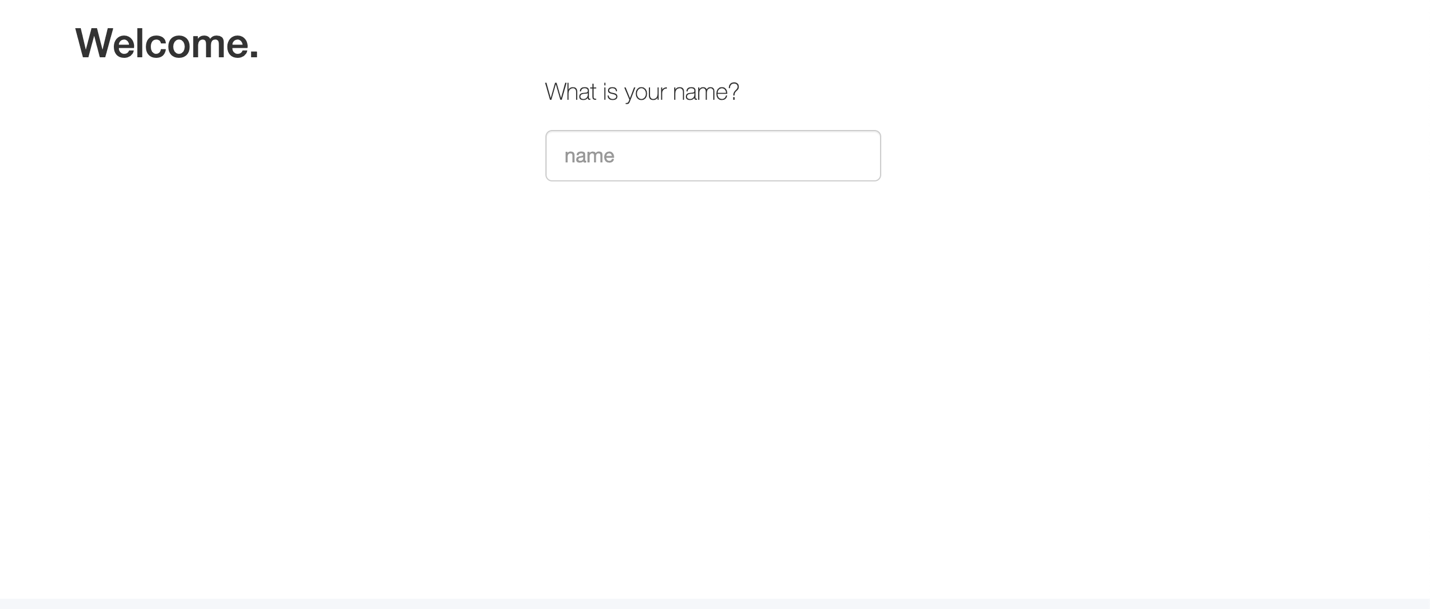
Step 5 Open application in browser
Visit http://localhost:3000
Deploying application on IBM Cloud
Deploying sample application that we have run locally in last section on IBM Cloud.
Step 1 Update manifest.yaml file with application name
---
applications:
 - name: <APP_NAME> // for e.g. indoredemo1
   random-route: true
   memory: 256M
Step 2 Login into IBM Cloud Account
ibmcloud login --sso
Step 3 Set organization & space depending on the region where your application is deployed
ibmcloud target --cf
Step 4 Deploy application
ibmcloud cf push
Step 5 List deployed applications
ibmcloud cf apps
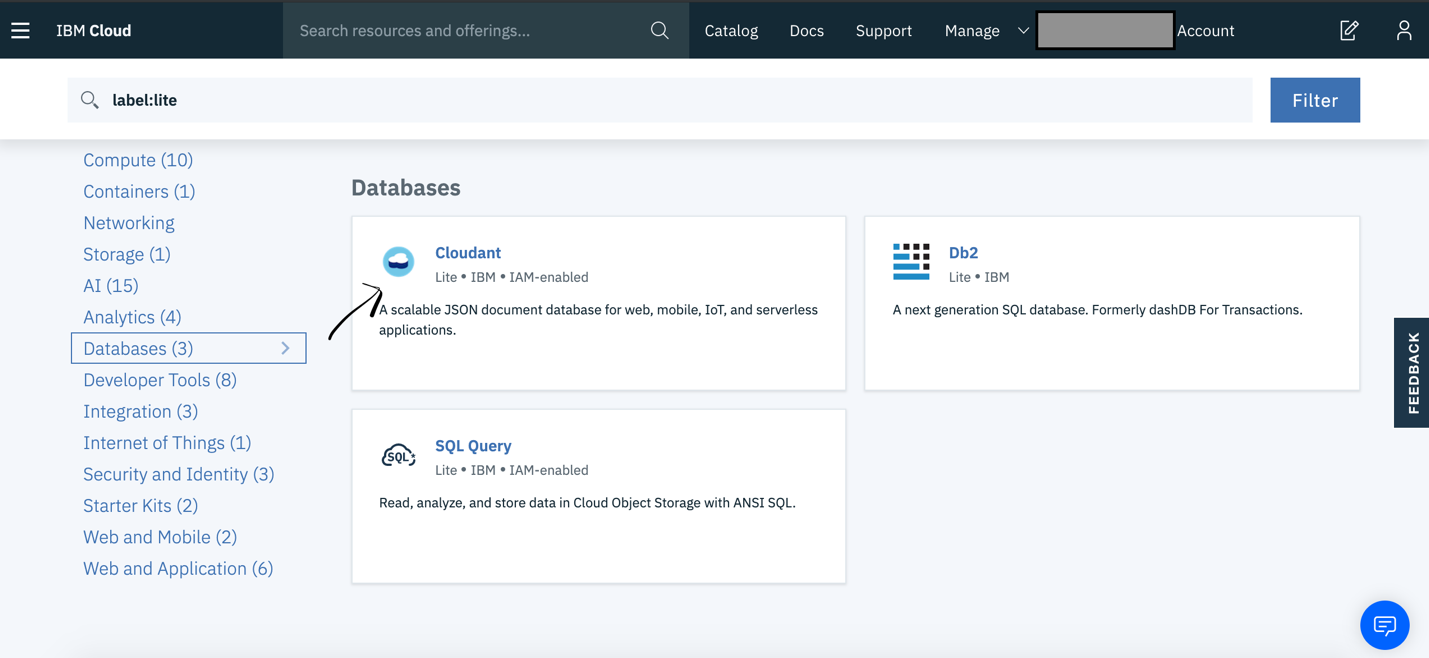
Creating Cloudant NoSQL database service
Step 1 Select database category

Step 2 Select Cloudant database service
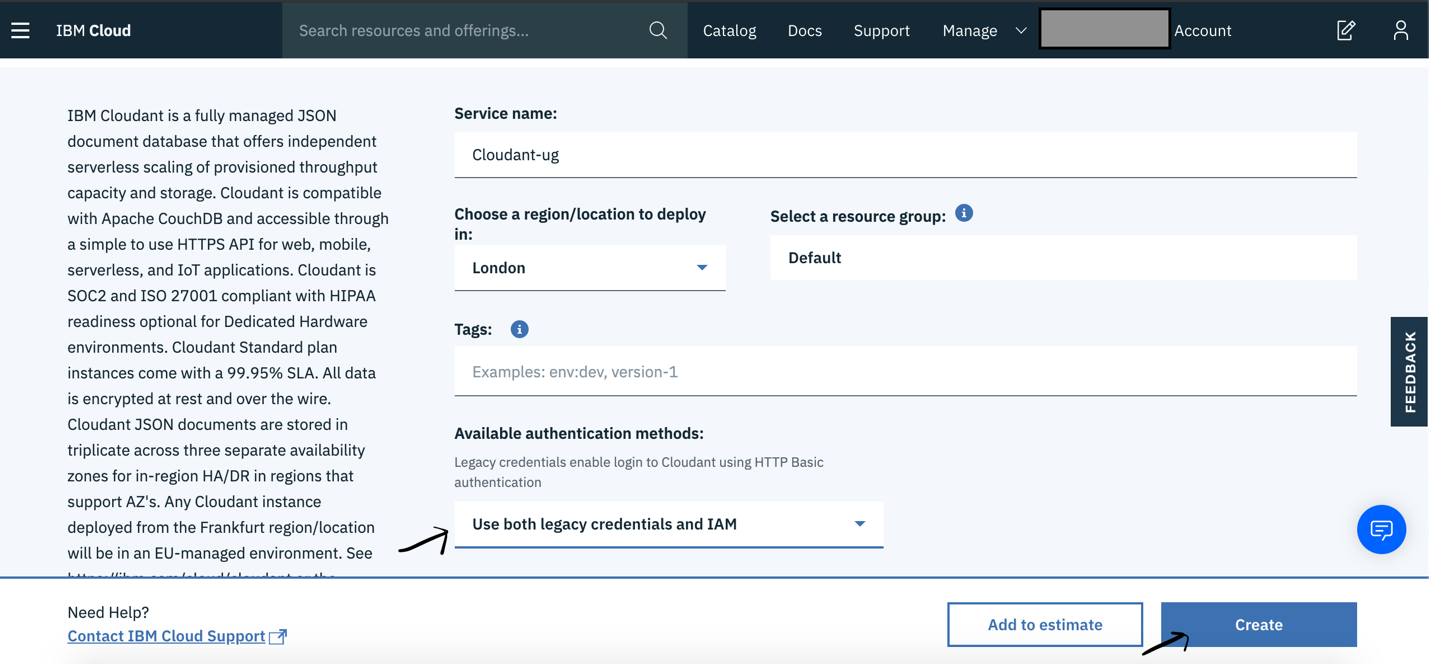
Step 3 Select authentication methods and then create a service
Connect Cloudant database service with deployed Node JS application
Step 1 Select created Cloudant database service
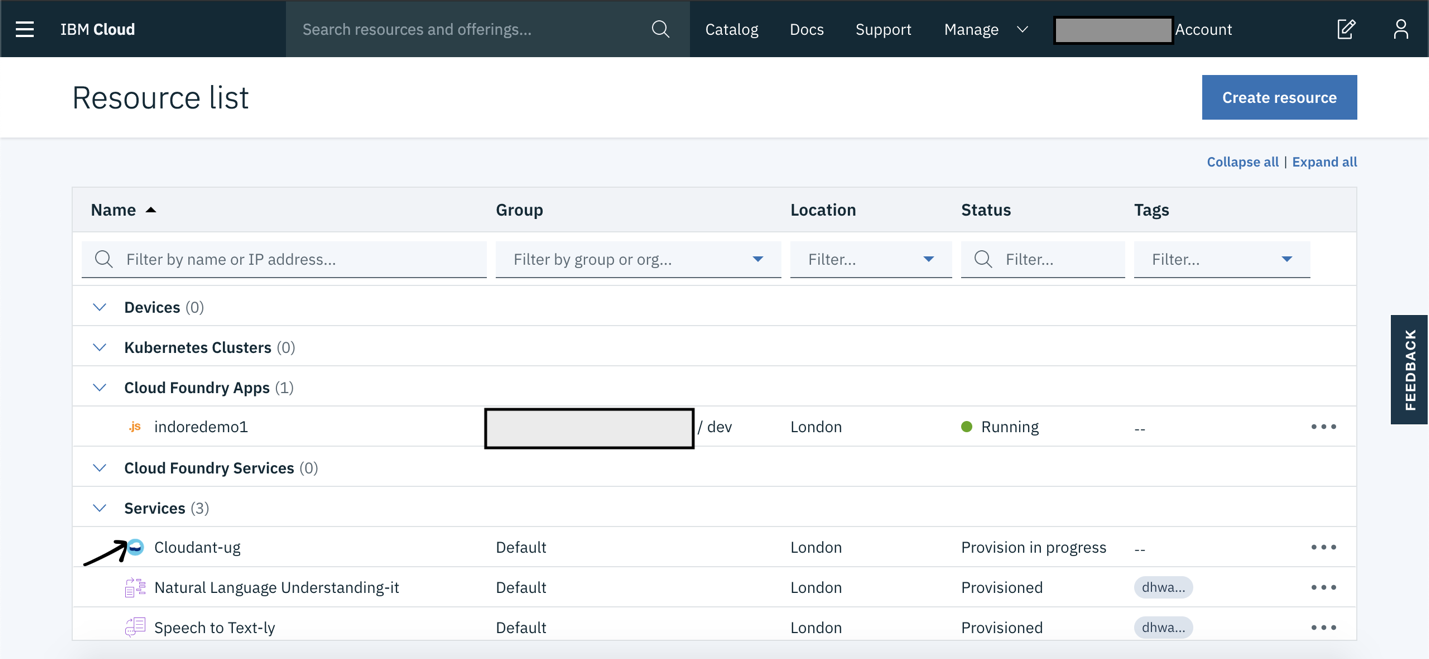
Step 2 Select connections
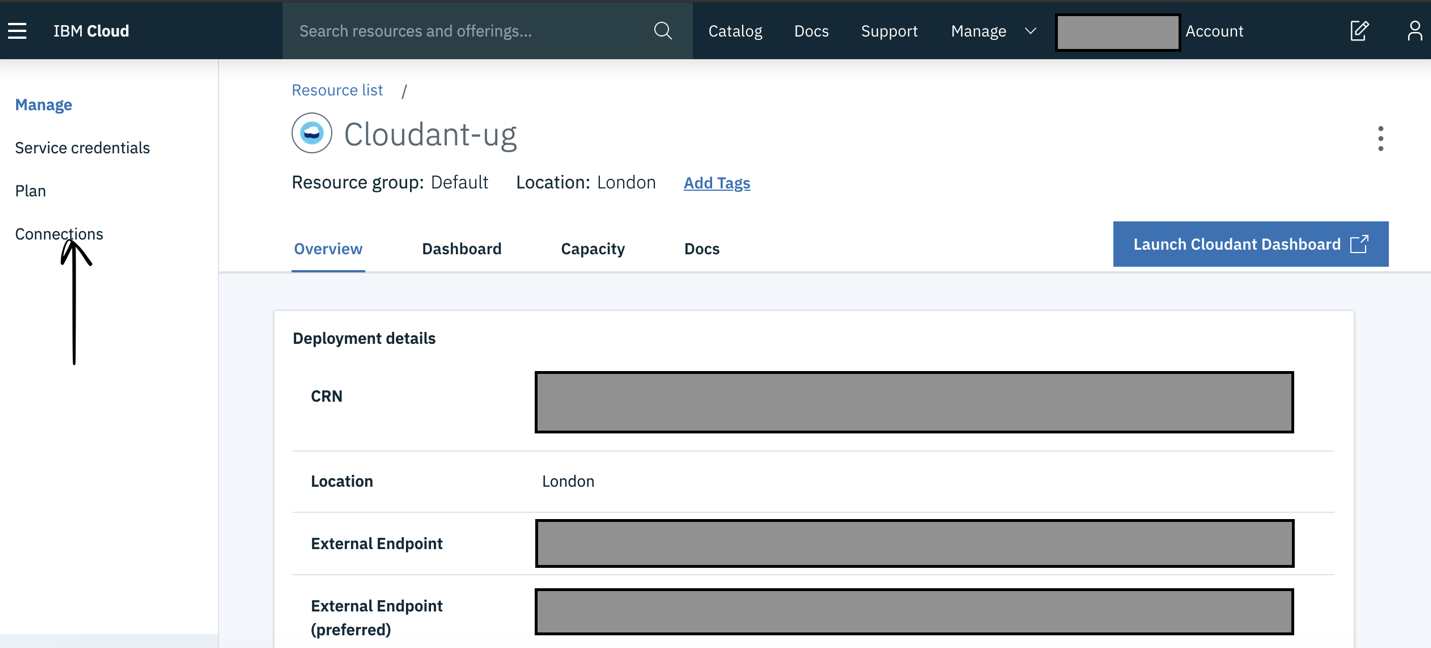
Step 3 Create a connection

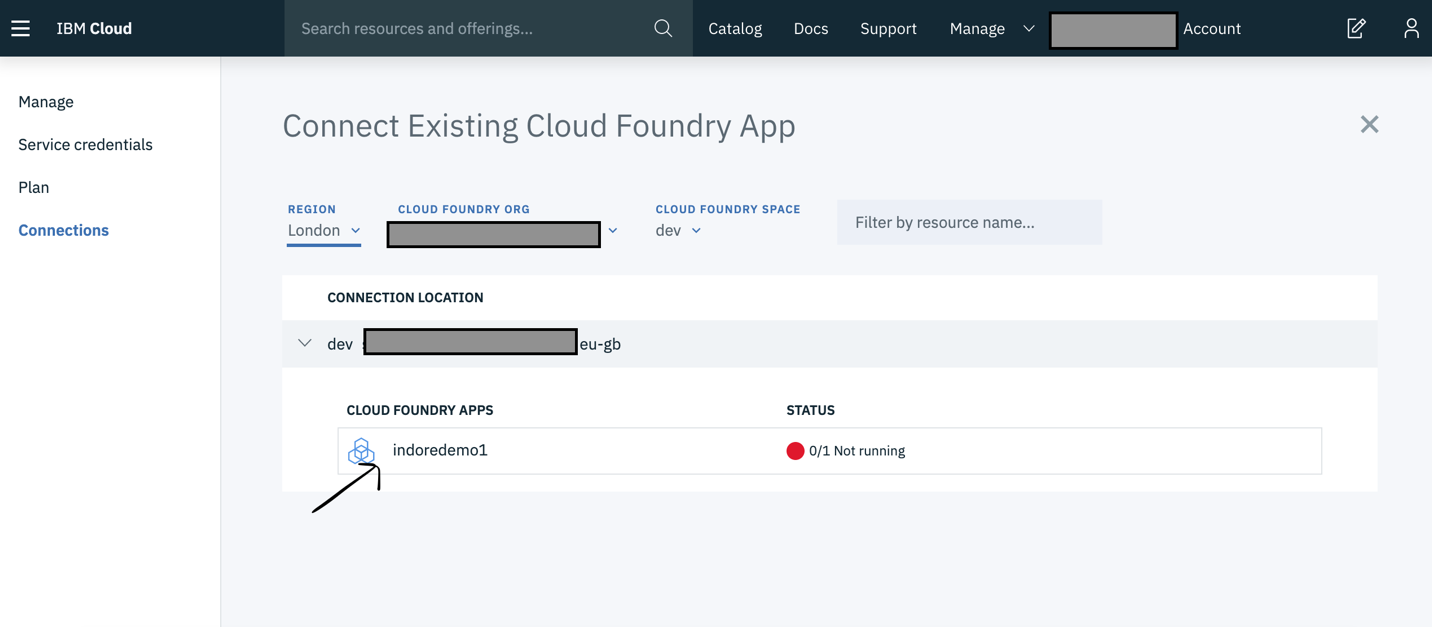
Step 4 Select region and then connect the application
Step 5 Restage application
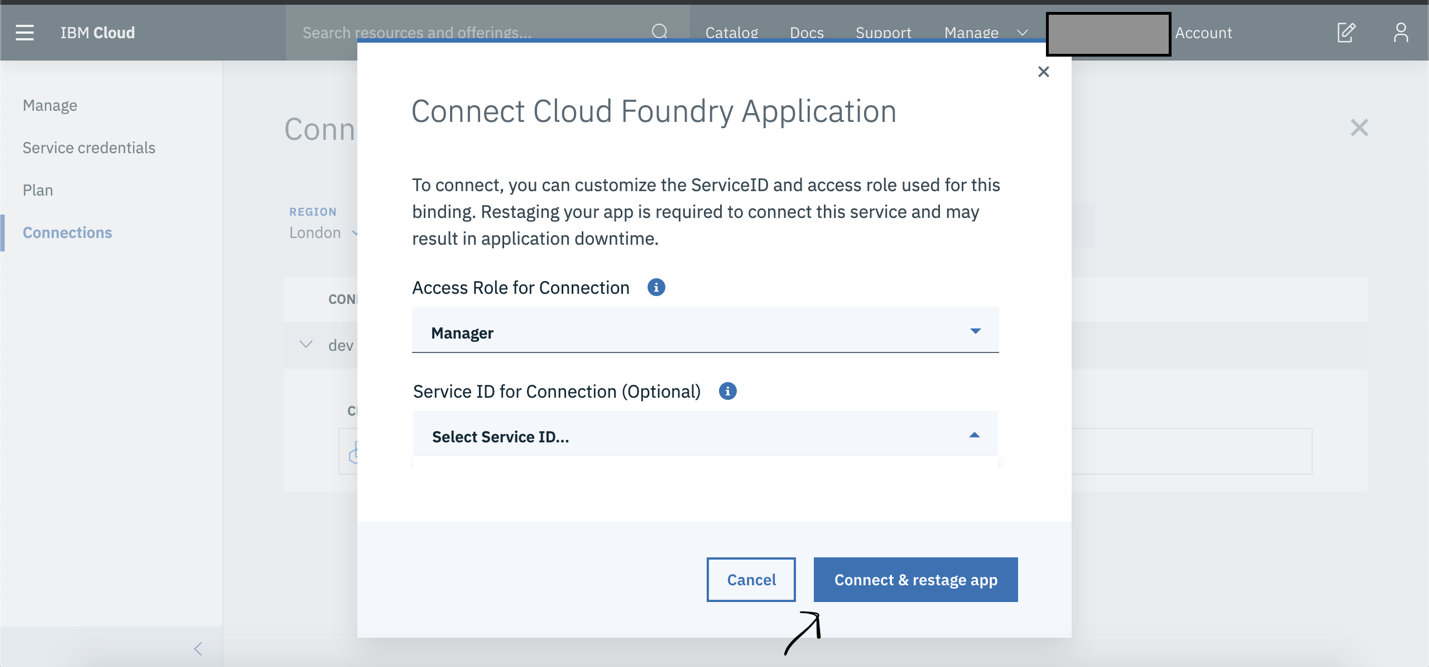
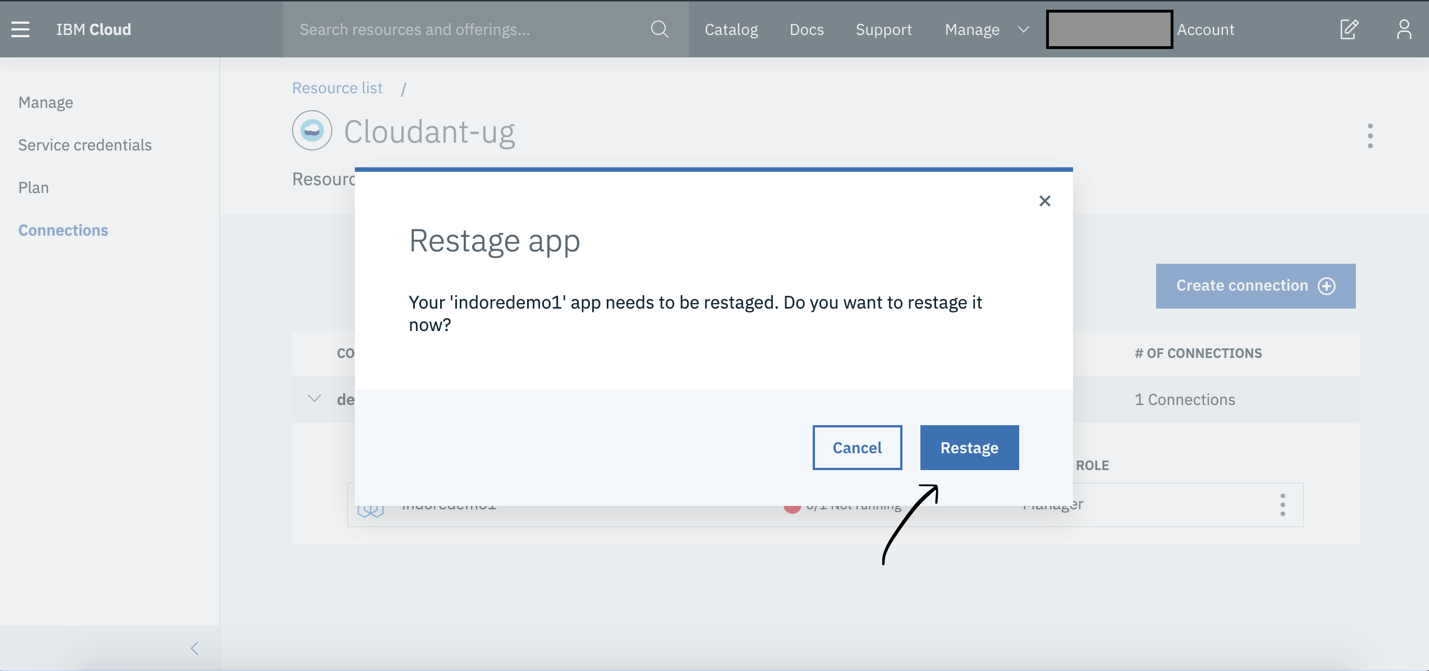
Note: Once connection is established between Cloudant database service & Node JS application then after restage database connection credentials are exposed as environment variables in the environment where Node JS application is deployed.
Verifying deployed application
Step 1 Go to Resource List
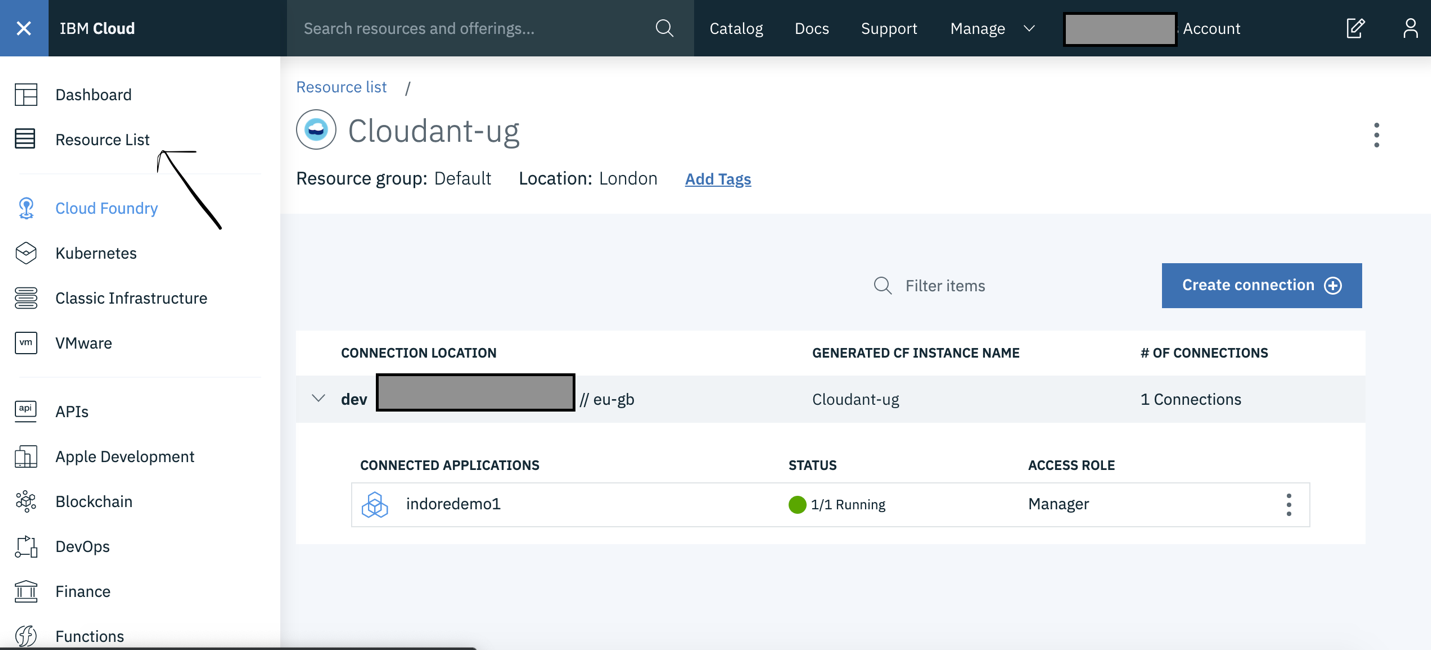
Step 2 Select application
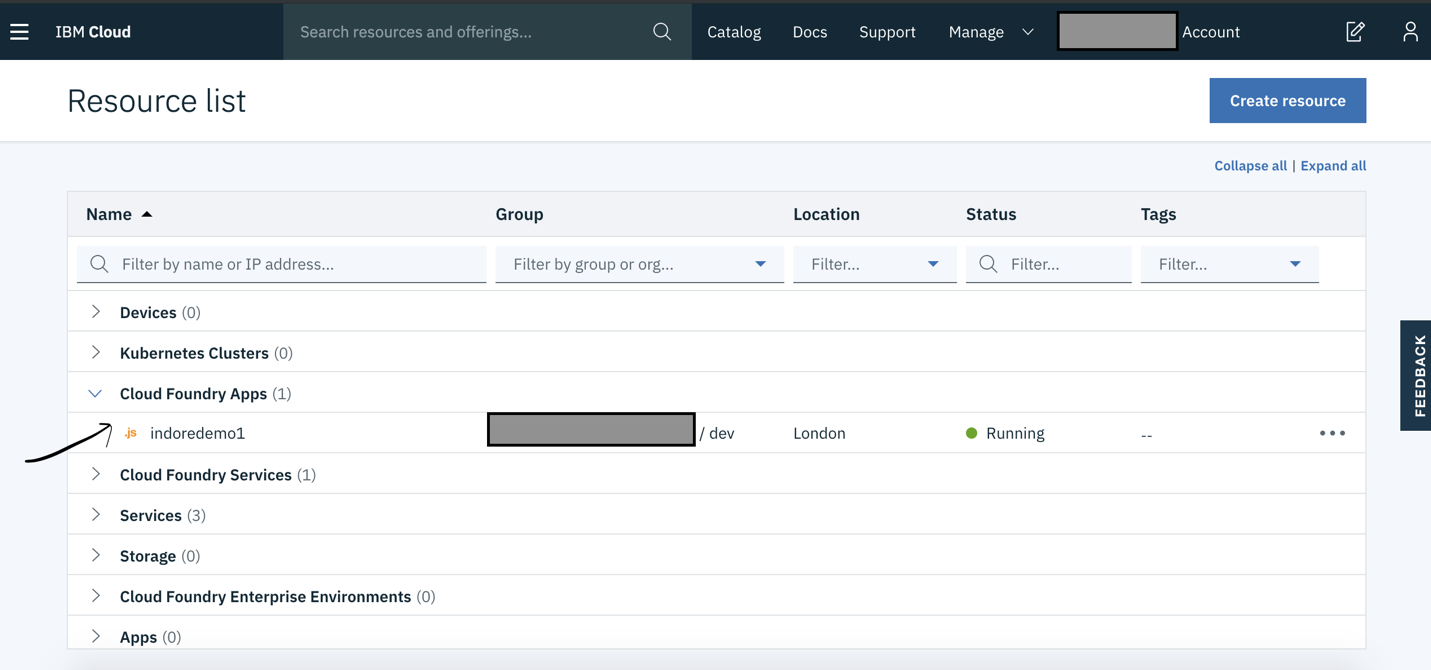
Step 3 Visit application URL
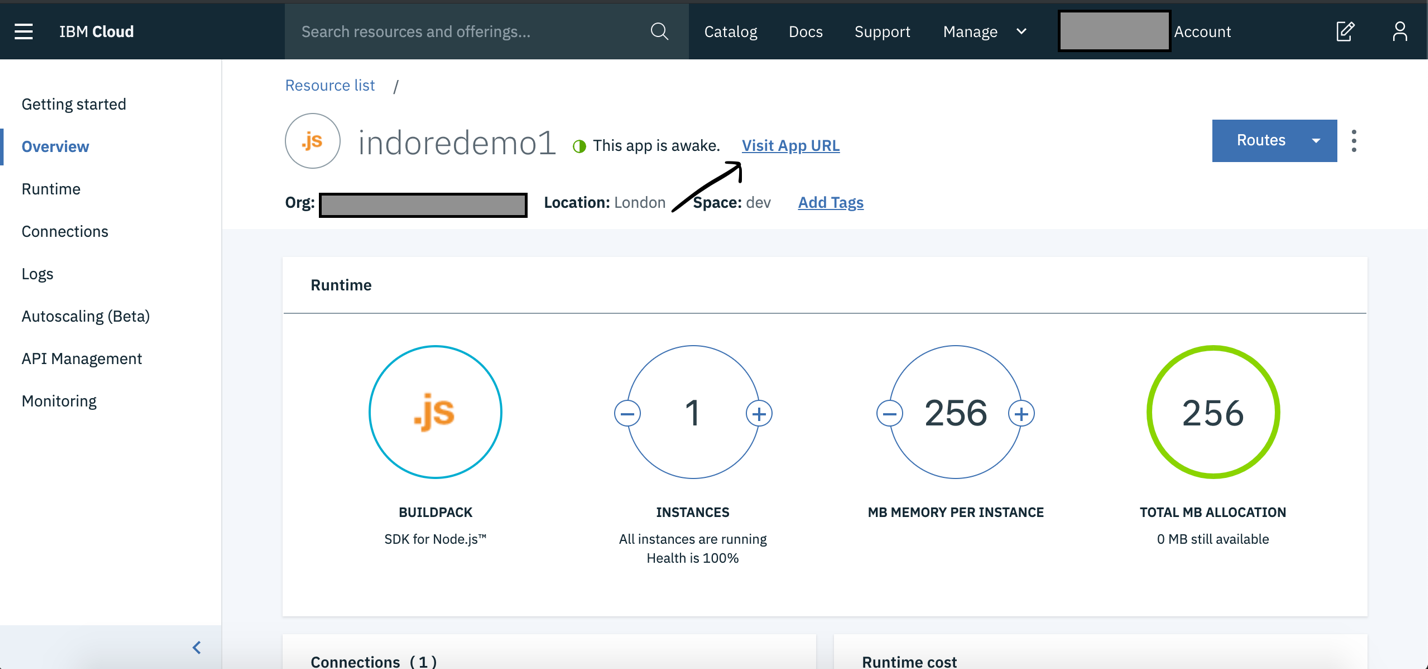
Step 4 Enter name
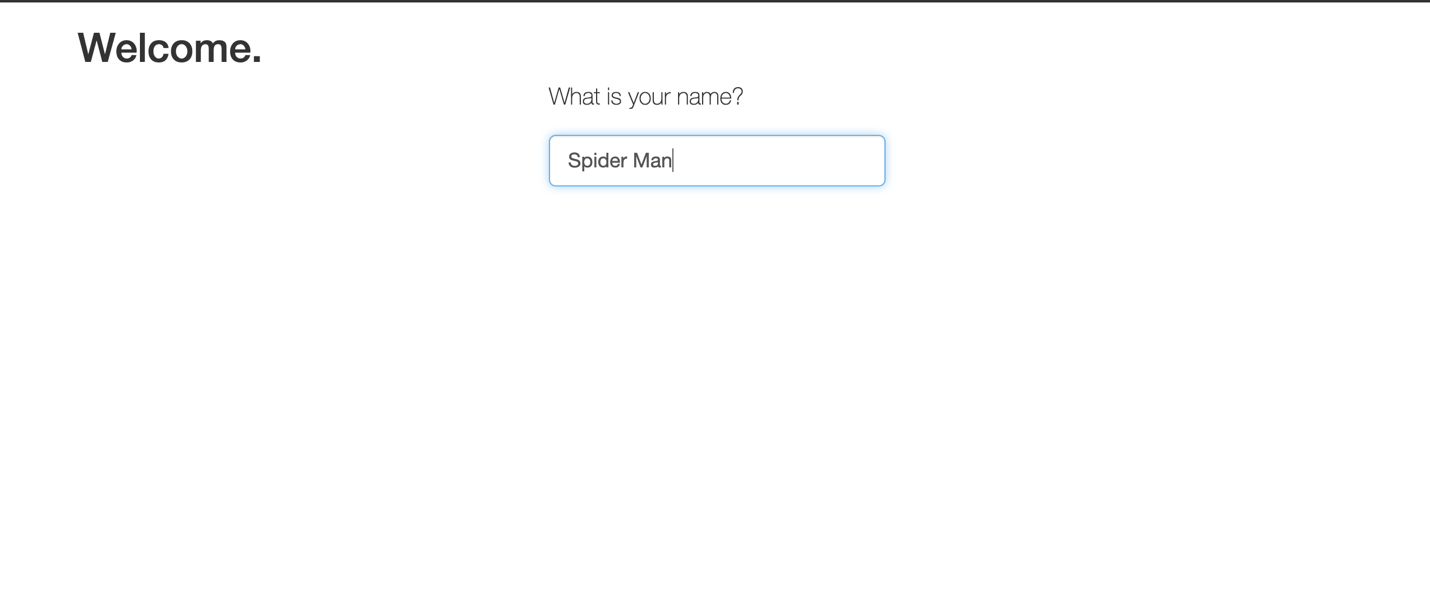
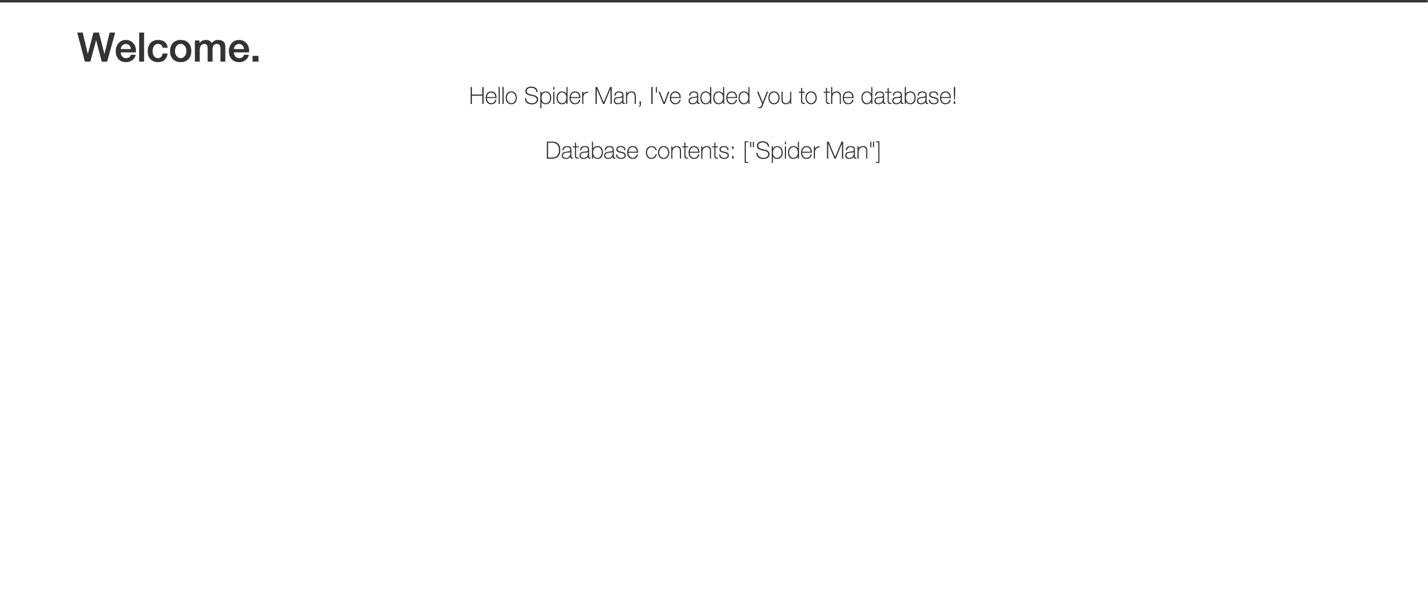
Step 5 Verify name has been added in database
Conclusion
Both SDK for Node.js & Cloudant database service comes free with IBM Cloud Lite account with usage limitation, hence it can be used by the following:
- Student who want to develop & deploy application on Cloud for internal/external project.
- Student or Working Professionals who are planning a start up and want a platform where application can be developed & deployed with no cost and less time.
- Working professional who wants to do some kind of POC or want to explore Cloud.